It's been a long long time. I didn't intend to be away from this blog for so long. But I had the end of my undergraduate classes, exams, we moved, I've been looking for apartments in Vancouver, I've been keeping up my photography blog which can be quite a task, and I just haven't really been baking much, not least of all because I moved all my baking stuff home. I'm finally here though to talk about my birthday cupcakes… even though my birthday was now over two months ago.

Like most cakes, you begin with the dry ingredients.
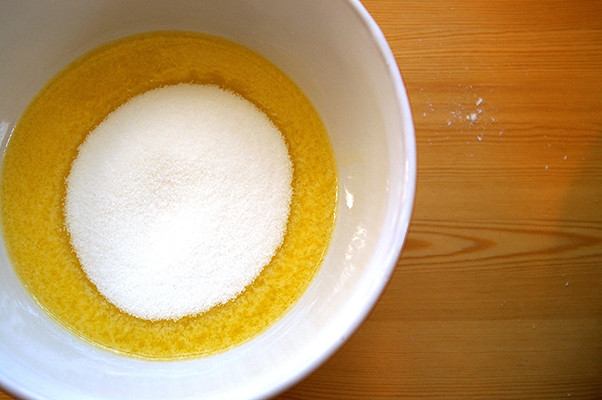
And then mix together the wet ingredients, along with the sugar...
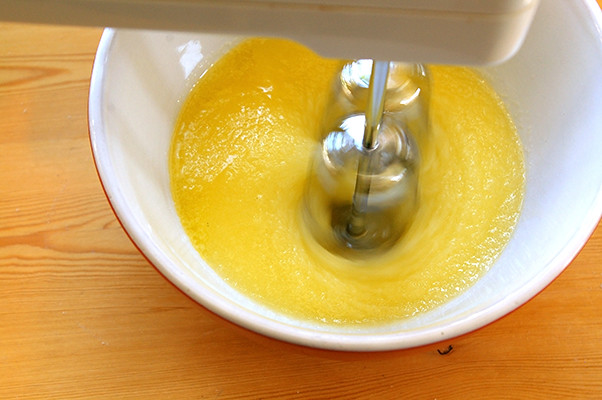
and beat it up.
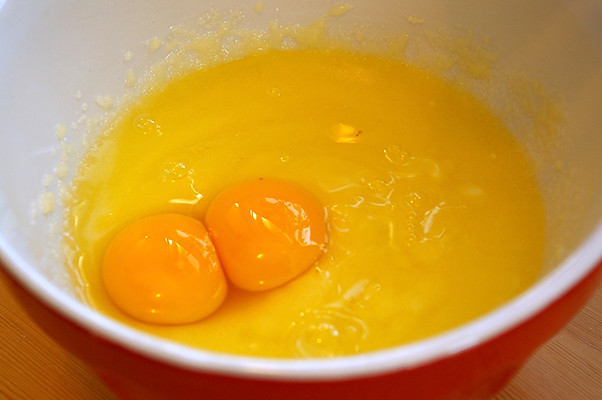
Add the eggs...
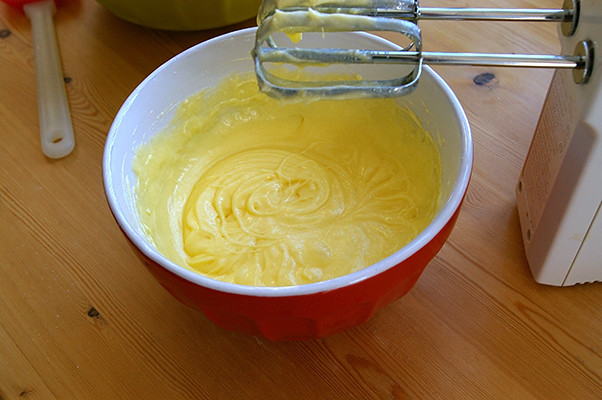
and beat it up again, until it becomes fluffy and pale yellow.

Then add some vanilla and mix it gently.
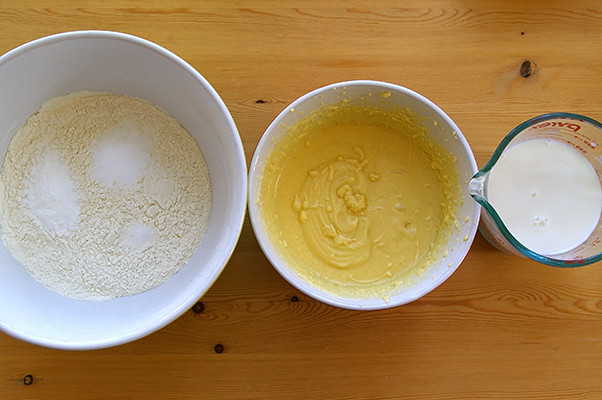
The other liquid this recipe calls for is buttermilk, but you can achieve the same effect as buttermilk by mixing milk with vinegar, which is what I did here. And so you have three bowls of different ingredients.
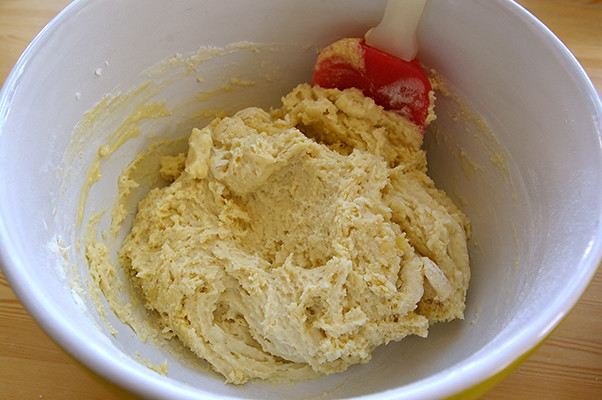
Add half of each type of wet ingredients and mix.

Mix in the remaining wet ingredients and whisk to smooth out any very large unmixed bits.
Now, of course I forgot to take a photo, but either pour the batter into a greased and floured cake tin, or line a muffin tin with papers and scoop the batter into each cup.
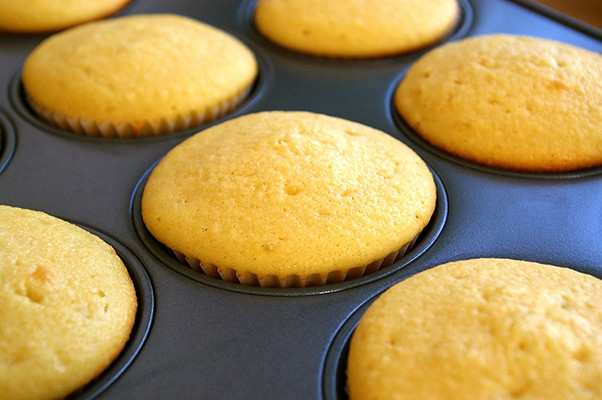
After baking for 15-20 minutes (sorry, I know I made notes on this, but I can't find them!), they come out smelling delicious and looking beautifully golden.
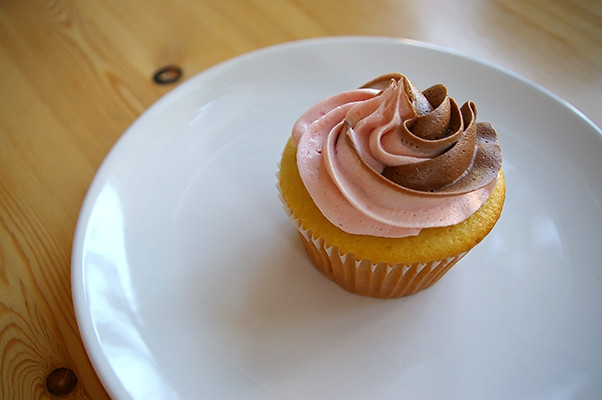
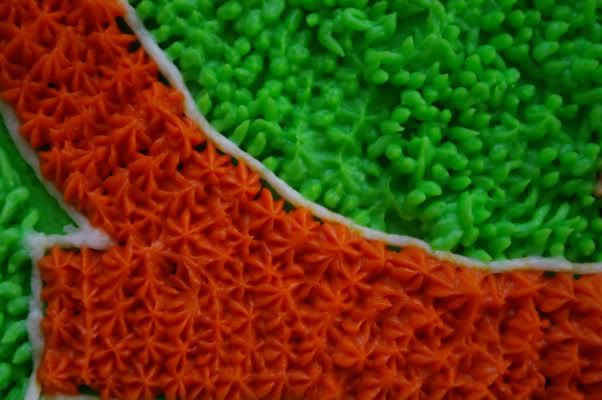
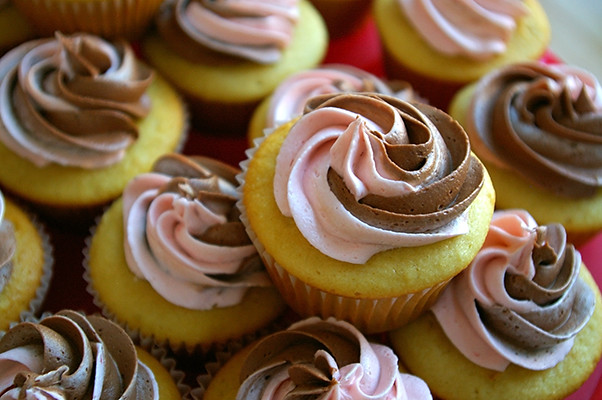
You can frost or decorate them however you want. I chose to make a chocolate and a strawberry buttercream and pipe them together onto the cupcakes.
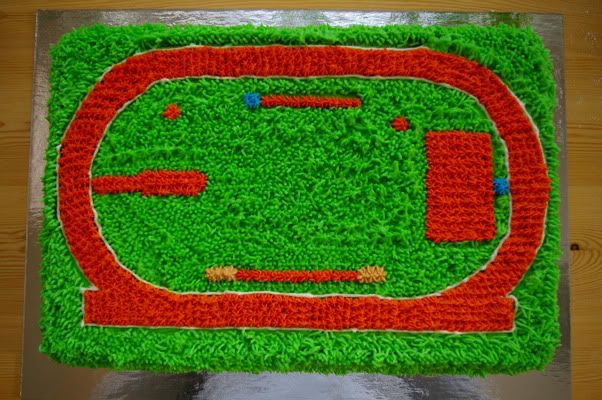
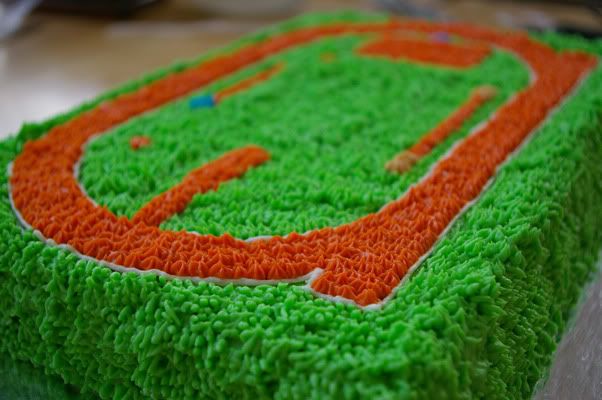
These are the bessst vanilla cupcakes I've ever found a recipe for. I also used this as a cake once, if you'll remember Anders' 23rd birthday track cake. It's such a tasty, perfect recipe - not dense, not too sweet, soft, and just… delicious! Definitely give it a try next time you're in the market for a vanilla cake!
Recipe
Vanilla Cake
1 ¼ cups all-purpose flour
½ teaspoon baking powder
½ teaspoon baking soda
½ teaspoon salt
6 tablespoons butter, melted
1 cup granulated sugar
1 egg, room temperature
1 teaspoon vanilla extract
1 cup buttermilk, plain yoghurt, or sour cream
Preheat oven to 350°F. Grease and lightly flour a 9x9/9x13 cake pan. Sift together flour, baking powder, baking soda, and salt; set aside. In a large bowl, beat together melted butter and sugar until completely combined. Add eggs and beat until mixture is smooth and light. Stir in vanilla extract. Add flour mixture in two additions, alternating with buttermilk. Pour batter into prepared pan. Bake for 30-35 minutes (cake) or 15-20 minutes (cupcakes), until cake is barely golden and a toothpick inserted in the centre comes out with only a few loose crumbs.
Guten Appetit! Continue reading...