July 27, 2008

The quest for steak supremacy continues... sort of.


Last weekend, Anders and I spent a long weekend at my cottage. Usually, our meals there are very simple. Pasta with jarred sauce, salad, and delivery pizza. But Anders and I had the cottage to ourselves on Saturday night, since my parents wouldn't be arriving until Sunday. We went to the grocery store when we got there and decided we'd roast potatoes on the fire and make salad, but the main dish was a bit of a head scratched at first. Anders needed to eat some meat, so we looked around for a while before he decided on a nice strip steak. I got myself a portabello mushroom.

Anyway, this post is really not long, because I didn't chronicle all the steps in making this steak. All I did was make a very simple marinade and massage it in, and let the steak sit for an hour or so before cooking it. The marinade was made up of olive oil, pear infused white balsamic vinegar, and salt and pepper. It was browned in olive oil in a cast iron pan for three minutes on each side and cooked in a 325°F for four minutes.

Anders loved it! He said it was much more tender than the eye of the round steaks I had been getting and that the flavour was much better. It was cooked perfectly, too.
This is a step in the right direction, for sure. Strip steak suits Anders' tastes better, and a simple marinade is enough to coax some good flavour out of the piece of meat. This, however, will not stop me from continuing to try different things, and trying to replicate the peppercorn steak he had for our anniversary dinner out.

But for now, I'm pleased!
Continue reading...

Six-Minute Chocolate Cake


Life has been particularly busy recently. My older sister had major surgery not long ago, so the whole family has been busy checking up on her. Of course, my way of "lending a hand" during this time was to bake something delicious.
This recipe is an old standby. I remember the first time I made it; it was Anders' birthday in 2003, before we were dating, and I've made it for his birthday almost every year since (this year being one exception - I made mousse). It's such a beautiful and simple cake. No other simple chocolate cake I've tried comes close to this one in flavour, texture and moistness. Every time I've served it, people seem surprised by how rich the flavour is, without the cake being extremely heavy. Another great thing about this cake is the lack of ingredients that are really terrible for you.
I wasn't a great fan of the white sugar, so the first time I made it (on Tuesday evening), I used half the amount of brown sugar. It made the batter so sticky and thick that I had to add an extra 1/4 cup or so of water. Figuring it would be okay, I split the batter between two pans and baked them. They turned out okay, but the I noticed the next day that they looked a little flatter than they usually did, so I decided to run to the grocery store and get some white sugar to try again.
I was in a major rush to get to my sister's house on Wednesday, so I didn't photograph the whole saga, but I did on Tuesday. So, I'll come right out and say that these photos are a big lie, in that they didn't actually make the cake you will see at the end, but it's all mostly the same.

The recipe calls for brewed coffee, but being that my parents had gone away and taken all the coffee in the house with them, I had to try something else.

What I did have was a can of Tim Horton's French vanilla cappuccino mix.

I added some oil to that.

Normally I'm an olive oil kind of girl (which you should know by now), but it's too strong a flavour for this cake. I used canola oil and I also added some vanilla.

Next, I mixed together the dry ingredients, which consisted of flour, sugar, cocoa and baking soda.

It looks like a mountain!

I always feel very satisfied when I mix up the dry ingredients and they look just like a box mix.

Espeically since this recipe is so simple. I doubt all the steps thus far were any more time consuming or labour intensive than opening up a box and ripping open the ingredient bags.

Finally, I mixed everything together until it was nice and smooth and deliciously chocolatey-looking.


The final step, before putting it into the pans, was to add vinegar.

People usually think this is really weird. And I always get asked, "but... can't you taste the vinegar...?" The answer is no! The vinegar is there to activate the baking soda, which makes the cake nice and light and fluffy.

Tip: never flour your chocolate cake pans again. Ever. Grease them, and then dust them with cocoa, the same way you would with flour.

Instead of chocolate cakes with white dust around the edges, you'll have purely chocolatey-brown cakes. If you're icing the cake, maybe you don't care as much. But if you're glazing it, say with a fruit glaze, this is very handy.

Next, I divided the batter evenly between the two pans and put them into the oven to bake for about 25 minutes.


While the cakes were baking, I made some buttercream icing.

It's simply butter, icing sugar, cream (I used half and half) and vanilla.

But I'm not a huge fan of vanilla buttercream on chocolate cake, so I melted some chocolate (part semi-sweet, part 85% cocoa) and added it in.


Oh my.

The cakes came out of the over shortly after I finished the buttercream.

They cooled on racks for a few minutes.

And then I popped them out to cool some more. Of course, on Wednesday I was hoping to be up at my sister's house by around 7, so I was rushing like a mad woman.

And I ended up holding the cakes up to the air conditioner so they would cool more quickly (that didn't really work).

I iced it anyway, and then threw it in the freezer until I left, so that the buttercream wouldn't completely melt.

It ended up looking pretty darn good.


And it tasted delicious.

This is one recipe I mostly follow exactly. The one exception, being that I add more cocoa. The recipe also says to mix the batter in the cake pan (which is where the six-minute name comes from), but I prefer to mix it in a bowl, so I can grease and dust the pans. It's not that I don't trust the cake to come out on its own, but I feel safer doing it this way. It's also easier to do it this way if you're doubling the recipe, which is what I normally do. I double it and make a two layer cake. It works nicely because the cake has a rich flavour, but doesn't feel rich or terribly filling. As I said, it's a really light cake with a ton of flavour and a great texture. It's moist and chocolatey and perrrfect. You should probably make it the next time you want chocolate cake or cupcakes. You won't be disappointed. But I sort of will if you don't make it. And I don't think you want to disappoint me, do you?

Recipes

Six-Minute Chocolate Cake
from Moosewood Restaurant Cooks at Home

1 ½ cups unbleached white flour
1/3 cup unsweetened cocoa powder
1 teaspoon baking soda
½ teaspoon salt
1 cup sugar
½ cup vegetable oil
1 cup cold water or brewed coffee
2 teaspoons vanilla extract
2 tablespoons vinegar

×××

Preheat oven to 375°. Lightly grease a 9-inch round or 8-inch square cake pan, and dust lightly with cocoa powder. Sift together the flour, cocoa, baking soda, salt and sugar into a bowl. In a 2-cup measuring cup, measure and mix together the oil, water or coffee, and vanilla. Pour the liquid into the bowl and mix the batter with a fork or small whisk. When the batter is smooth, add the vinegar and stir quickly. There will be pale swirls in the batter where the baking soda and the vinegar are reacting. Stir just until the vinegar is evenly distributed throughout the batter. Pour the batter into the cake pan, and bake for 25 to 30 minutes. Let the cake cool in the pan for a few minutes before turning out to wire racks to cool completely.

This makes ONE cake. Double the ingredients for a double layer cake!

Buttercream Frosting
1 cup unsalted butter, room temperature
2 cups powdered sugar
1-3 tablespoons heavy cream
2 teaspoons vanilla extract

×××

Using electric mixer, beat butter in large bowl until fluffy. Gradually beat in sugar, then cream and vanilla.
To make chocolate buttercream, melt the desired amount of good quality chocolate and let cool slightly before adding it to the plain buttercream.


Guten Appetit!
Continue reading...

July 10, 2008

Chocolate Berry Roulade Cake with Fudge Drizzle

Just look at that title. I bet you want to just skip to the end with the photos of the completed cake and the recipe right now so you can run to your kitchen and make this delectably perfect dessert. Don't you?

Let's get to it.

This was basically an all-day affair, so if you're planning on making it, clear your schedule. It wouldn't take nearly so long if you didn't make it into a roulade, but I did. Next time I'm planning to just make the cake in muffin tins and treat them as short cakes, of a sort.
On that note, you may want to clear your schedule for this entry about the cake. Seriously. Around 30 photos ahead.

I started with the cake.

The recipe said to make it in a jelly-roll pan, and after just a moment of searching online, I found out what they really meant was "a normal cookie sheet, with sides." Okay, well sort of. It's supposed to be 1" deep. Mine was 0.75" deep, but it was both wider and longer than it need to be, so I figured it would work out. I greased it, put in a layer of parchment paper, and then greased the paper. This is is what i t looked like:


In case you were wondering, I rely heavily on my laptop while I'm baking:

I keep all my recipes on it, and I play music on it. It's partly responsible for any greatness that comes out of my kitchen. Thank you, little Toshiba.

Back to the cake. The first thing the recipe asked me to do was the to make really really really thick cocoa.


I also separated some eggs.

Okay, yea, I really cheated. I used a separator. Normally I don't, but there were a lot of eggs to separate.

I whisked the egg yolks:


And added the really thick cocoa, some brown sugar, and vanilla.


Finally, the flour went in, too.


I let that sit while I whipped up some egg whites:

Man. I love making meringue. It is so pretty. And tasty.


I added it in two batches to the chocolate mixture.

This took an unexpectedly long time. The chocolate mixture was really thick. Probably because I refused to follow the recipe and used brown sugar instead of white sugar. Or something. Who knows. Anyway, by the time it was all folded together, the egg whites had deflated more than they were supposed to, I think.
But, I poured it into pan anyway, and spread it out with a spatula, and put it in the oven.


While it was baking, I completely covered a tea towel in confectioner's sugar.

How weird is that?

When the cake came out of the oven, it started shrinking!

I don't know why, but whatevski. It smelled goooood.

I very carefully (and quickly) flipped the cake over onto the sugar-covered tea towel and took off the parchment paper.


And then rolled the whole thing up together, and let it cool on a wire rack.


I did several things while it was cooling. One was to make an extremely unsuccessful attempt at a healthy filling for this cake. The recipe called for a whooole bunch of whipping cream, which is not light, that's for sure. So I thought I would try making something with Quark. Oh my goodness. It went so badly I don't even want to talk about it. Finally I just caved and bought whipping cream. I also hulled and washed strawberries, and pureed some of them, too.

When everything was ready, the assembly of the cake began. I was nervous that when I unrolled the cake it would be in pieces and all dry and gross. But it was still nice:


I started by spreading the pureed strawberries over it.


Then spread on the whipped cream:


And finally, placed on some sliced up strawberries:


I rolled it all back up, which was a little more difficult than I thought it would be. The strawberries wanted to escape.


This went in the fridge for a while, and while it chilled, I made a simple chocolate sauce of whipping cream and melted chocolate. I drizzled that on before I sliced up the cake. It looked so damned pretty when I started cutting it up.


I served each slice with some of the extra strawberry and chocolate sauces.

It went over very well.


This cake was delicious. The flavours were all simple, but very delicious all together. There was never a question about that, though, since it was strawberry, chocolate and whipped cream. As a said earlier, I'm not sure it was worth all the effort. Sure, a roulade is very pretty, but I'm not convinced that it wouldn't look just as pretty as little individual cakes, piled up with whipped cream and strawberries and topped with chocolate and strawberry drizzle. Just thinking about it is making me want to try it this weekend.
We have some slowly (but surely) softening strawberries in the fridge... and this might just put them to good use.

Recipe

Chocolate Berry Roulade Cake with Fudge Drizzle

Cake
¼ cup unsweetened cocoa
¼ cup boiling water
4 eggs, separated
½ cup brown sugar
2 teaspoons vanilla extract
½ cup white sugar
1 cup sifted cake and pastry flour
½ cup icing sugar

Filling
1 ½ cups whipping cream
3 tablespoons icing sugar
2 teaspoons vanilla extract
3 cups fresh berries*

Fudge Drizzle
100 g dark chocolate
½ cup heavy cream

×××

Cake
Preheat oven to 350°F. Line a 10x15 inch jelly-roll pan with parchment paper or waxed paper coated with grease. Stir cocoa into pot of boiling water and let stand. In a mixing bowl, beat yolks with a mixer until thick and pale yellow. Slowly beat in ½ cup sugar, cocoa mixture, salt and vanilla. Beat in the flour. In another bowl, with clean beaters, beat egg whites with cream of tartar until soft peaks form. Gradually add sugar. Continue beating until firm peaks form. Fold into flour mixture in two batches. Smoothly spread batter in jelly-roll pan. Bake for 20 minutes or until cake springs back in centre when gently touched. Meanwhile, heavily spread icing sugar over a clean tea towel. Run a knife around cake pan to loosen sides. Turn out onto tea towel and remove paper. Starting on the long side, roll up the cake and tea towel together. Completely cool cake wrapped in tea towel on a rack.


Filling
Beat whipping cream, icing sugar and vanilla together until firm peaks form. Place in refrigerator for 10 to 15 minutes.

Fudge Drizzle
Completely melt chocolate in cream over low heat.

Assembly
Unroll cooled cake, keeping on tea towel. If the cake is still warm, fan to cool. Spread filling to within 1 inch of all edges of the cake. Evenly top with berries. With the long side toward you, use the towel to help firmly roll up the cake – leave the towel out of the roll. Slide rolled cake onto a large baking sheet, seam-side down and cover with plastic wrap. Chill for at least 1 hour or up to one day.
To serve, transfer cold cake to a serving platter. Drizzle cold cake with some of the fudge sauce, and reserve the rest to drizzle on individual slices.

*I found this recipe in the LCBO Wine and Food magazine for June and it was all about blue berries. So, the original recipe was with blueberries, but any in season berries will work.

Guten Appetit!
Continue reading...

July 09, 2008

New layout

We're back in business!

Expect a post about these ingredients, soon: chocolate, strawberries, whipped cream, chocolate sauce and strawberry sauce. Get excited. Continue reading...

July 05, 2008

Brief intermission

Pardon the mess. I'm coming up with a new layout. One that's not so brown, hopefully. Continue reading...

July 04, 2008

Banana Pineapple Muffins


Oh. My.
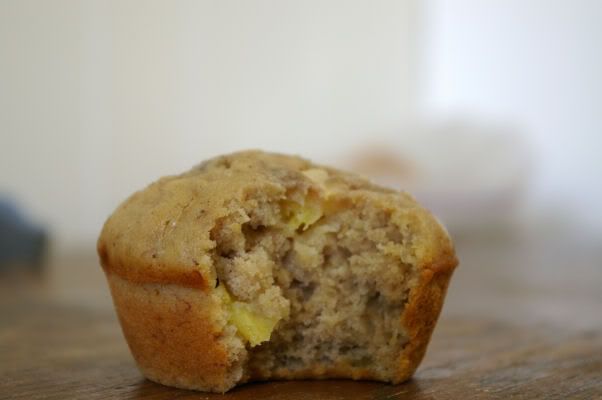
Everyone who reads this is probably so tired of reading about muffins. Lots and lots of muffins, I know! But muffins are good! Breakfast, dessert, a snack... they're multi-talented, let's face it. And these ones. Well, I could gobble down about 12. Whole. That's how good they are. Except if I ate them whole I guess I wouldn't really taste all the banana pineapple goodness. And I certainly wouldn't want that.

Anyway, my original inspiration for this recipe was, naturally, bananas going bad on our counter. Also, this recipe from The Crepes of Wrath. This recipe looked reeeeally good. Except I don't like coconut (not shredded coconut anyway, I like the flavour though!) or dried pineapple. Or raisins in my baking. Uhhh. But I still thought it looked great and interesting. Especially since I was trying to use up bananas and we had fresh pineapple in the fridge. Of course, my recipe is far far different, so it's posted below.

There were a lot of bowls in this recipe, which I'm not a big fan of. I like one-bowl recipes... they're so uncommon though.

ANYWAY.

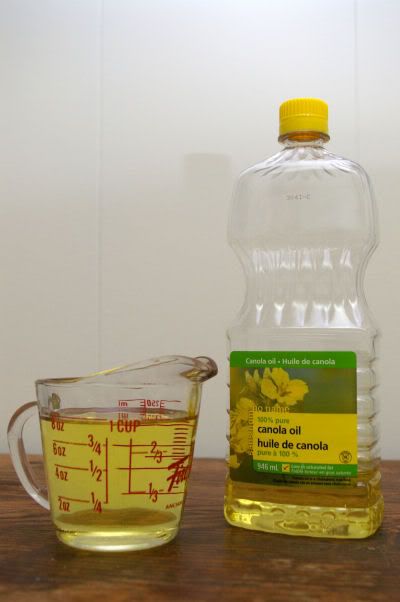
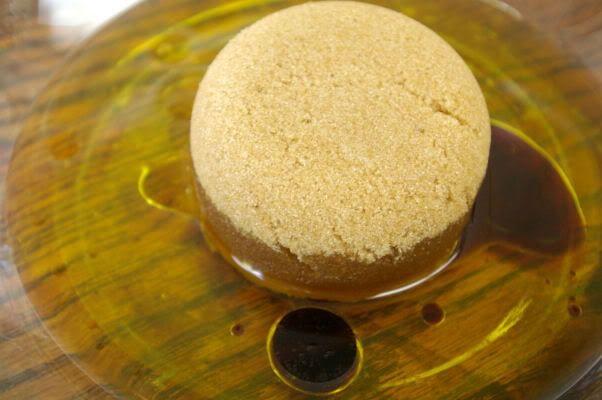
Instead of using butter, I used (surprise!) olive oil. I was going to use honey, as well, until my naive illusions were crushed and I found out bright yellow sugar has fewer calories and carbohydrates than honey! Can you believe it? All I had to do was read the labels. Who would have thought to do that? Especially someone who is watching what they eat. Man, I'm dull. Anyway, I was actually pretty excited, because brown sugar has a lot of flavour, and honey... not so much. That said, I know that honey is still better for you because it's unrefined, unlike most sugars. My next goal is to find sugar that actually has some good flavour and won't kill you.

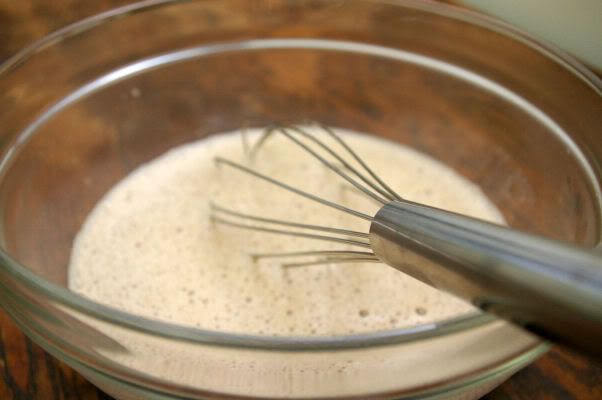
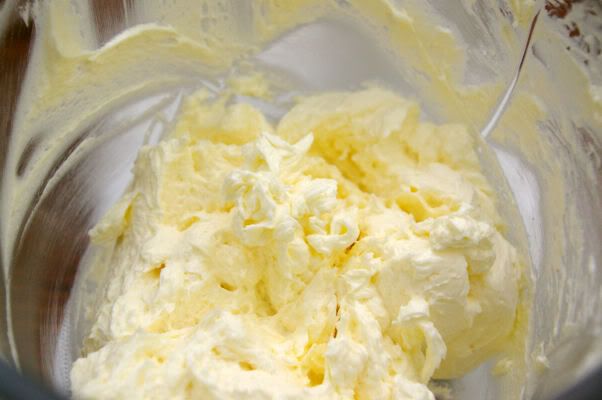
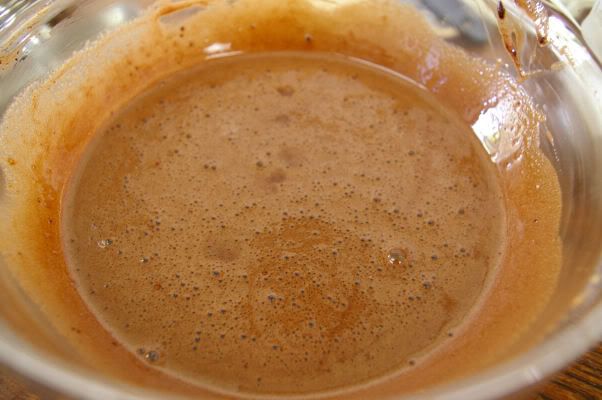
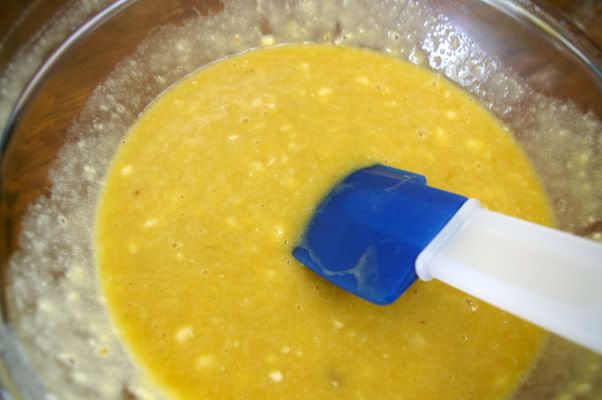
I started by mixing together some olive oil, bright yellow sugar, vanilla, and rum.

Oh yea... real rum.

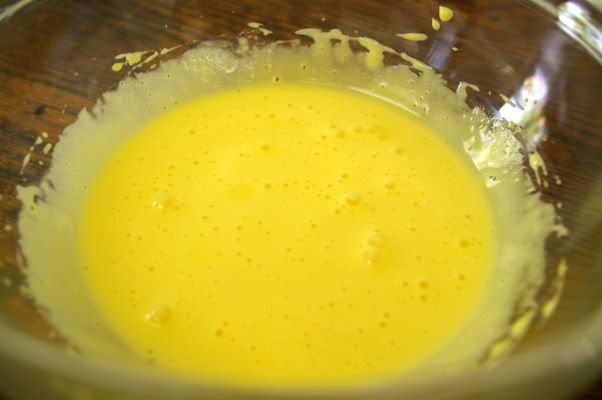
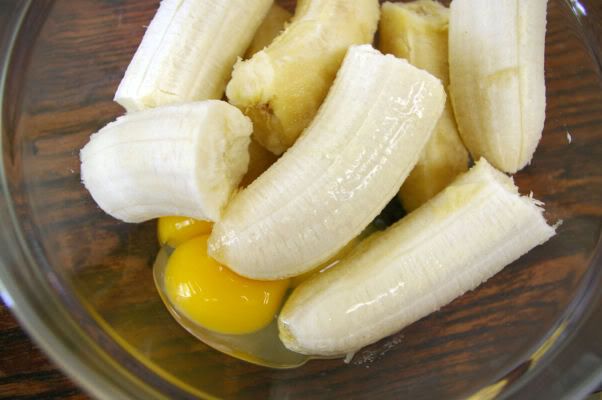
Next, I crushed some bananas up with the eggs.


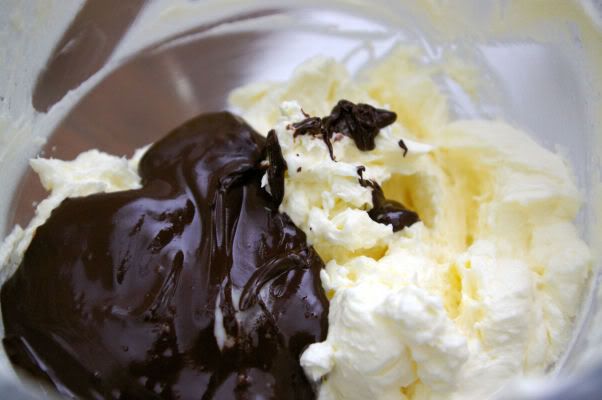
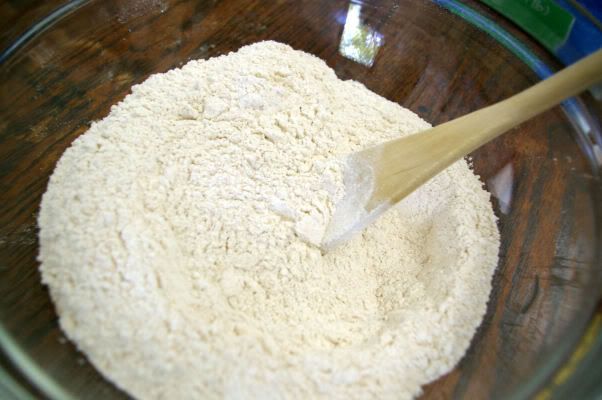
In the end, these are what the bowls looked like:

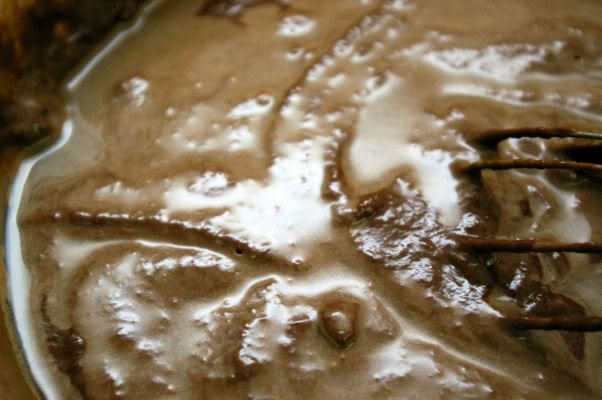
Oil doesn't mix very well with brown sugar, apparently.

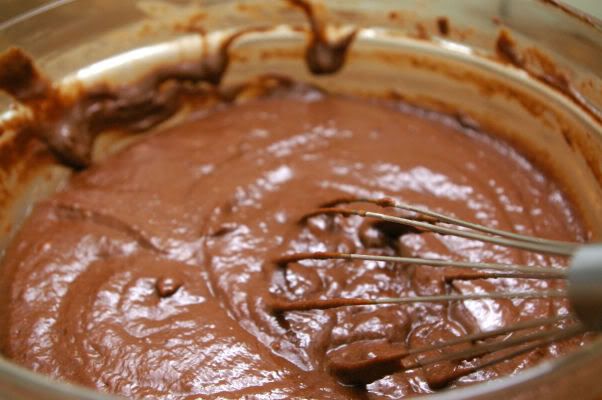
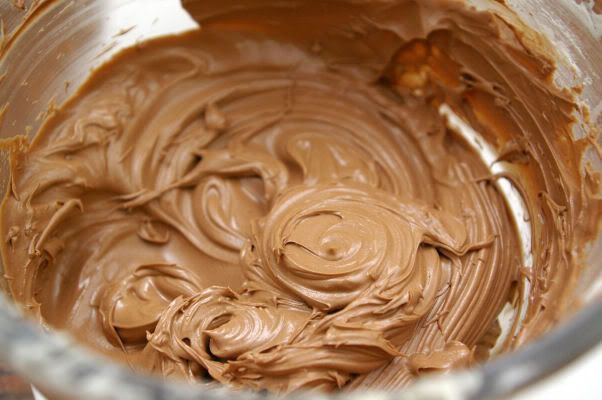
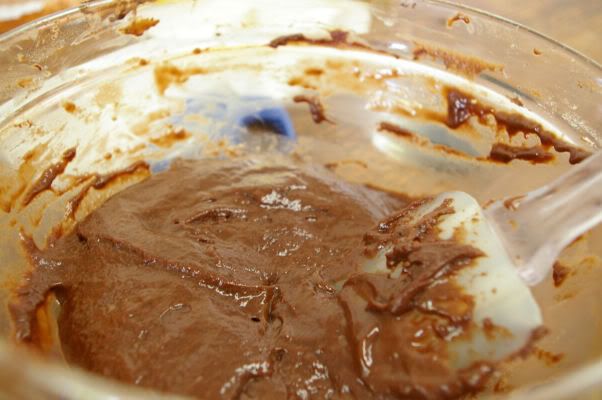
But all was well when the two separate bowls of ingredients got together.


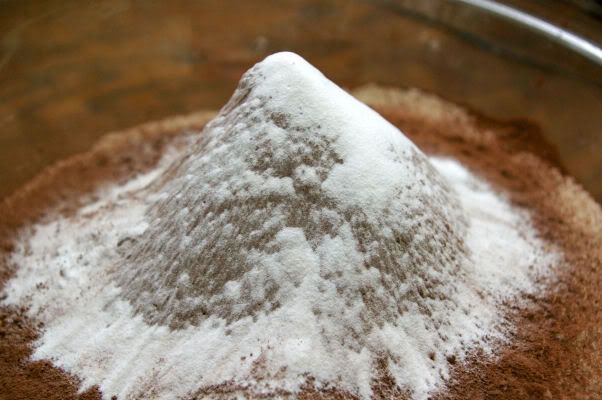
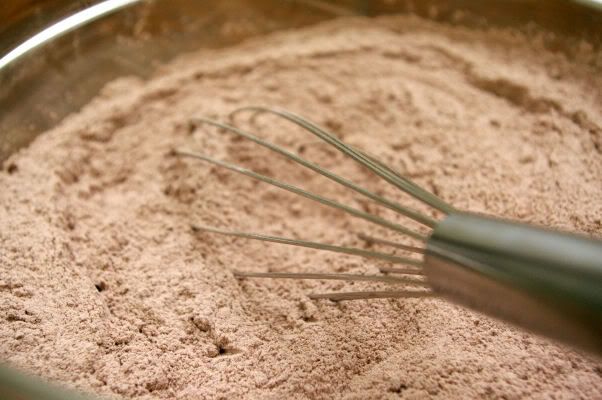
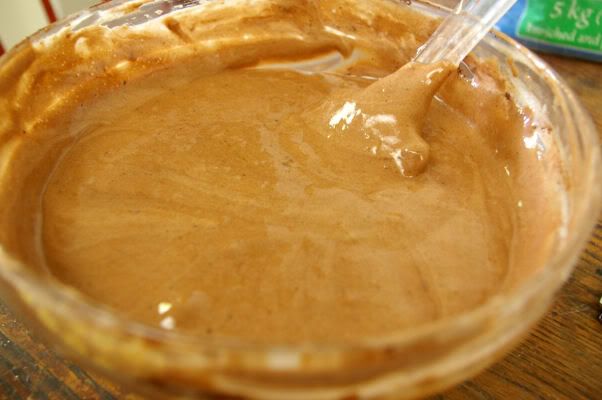
The dry ingredients consisted of flour, baking soda, baking powder, cinnamon and nutmeg.


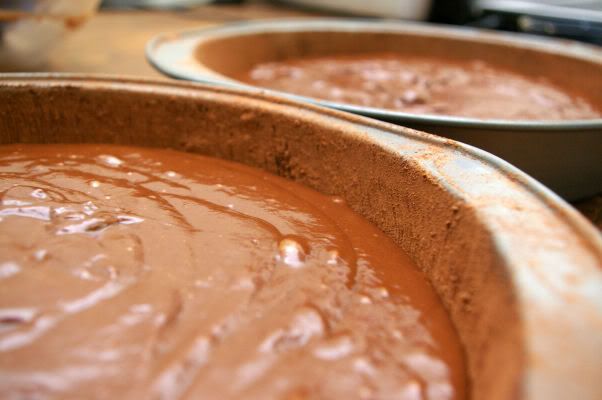
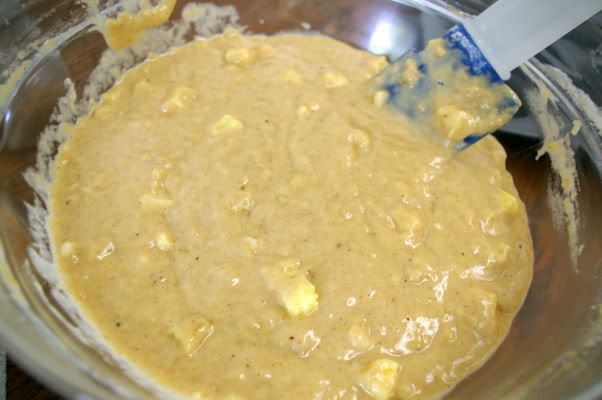
After I mixed in the dry ingredients, I chopped up about a cup of fresh pineapple and threw that in, too.


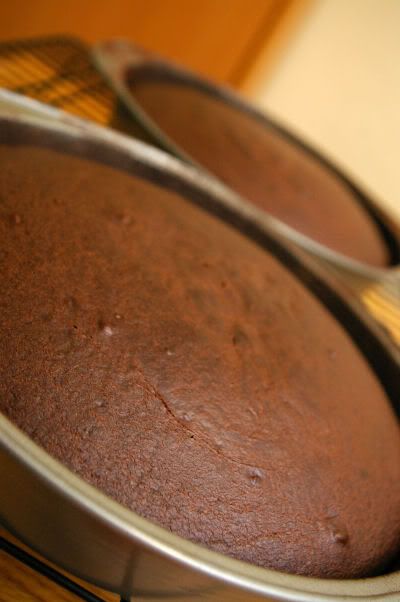
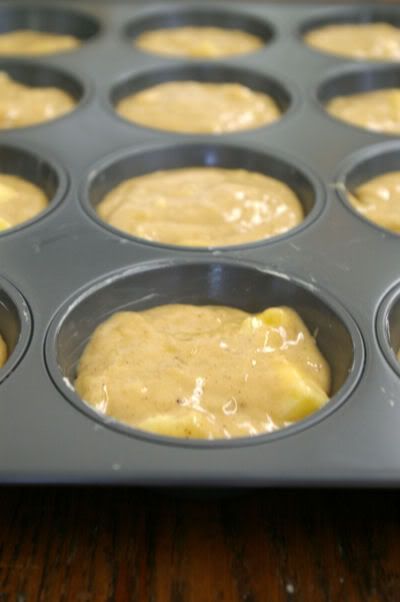
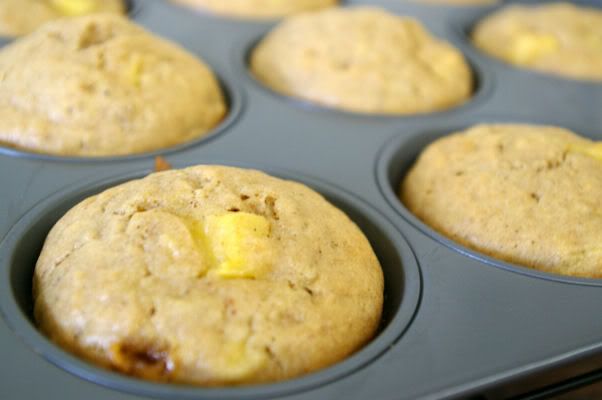
And scooped the batter into my greased muffin tin and put them in the oven.


20 minutes later, these smelled irrestibly delicious. I cooled them in the pan for a few minutes.


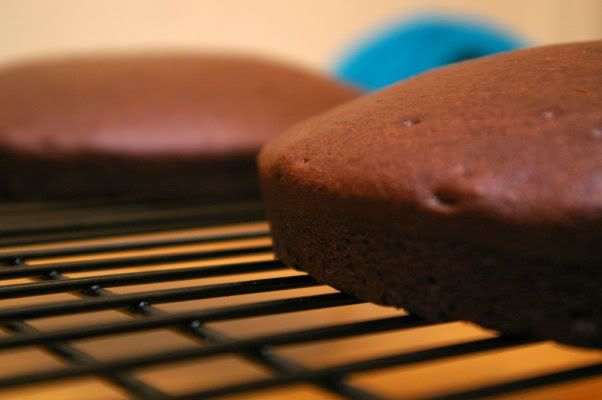
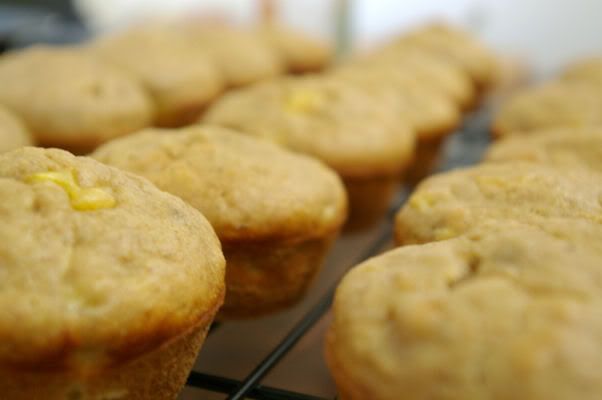
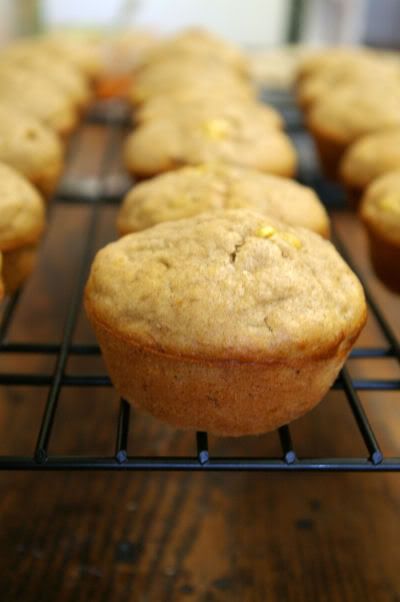
And then turned them out to cool completely on my wire racks.


While the muffins were cooling, I made surprise lasagna for myself and my parents...

after which we gobbled down some of these muffins:


Seriously. I can't believe how good these muffins are. They're so moist, and the pineapple adds a nice punch of flavour to what would be otherwise normal banana muffins. Not that I don't like banana muffins. I really do, but they're tried and true, easy, comfortable, simple, etc. The pineapple is such an amazing touch. Also, rum? Freakin' add it to anything you bake with bananas. It's so. good.

Recipe

Banana Pineapple Muffins

½ cup olive oil
½ cup packed brown sugar
2 teaspoons vanilla extract
2 teaspoons rum
3-4 ripe bananas, mashed
2 large eggs
2 cups all-purpose flour
¾ teaspoons baking soda
¾ teaspoons baking powder
1 teaspoon cinnamon
¼ teaspoon nutmeg
½ cup pineapple

×××

Preheat the oven to 350°F. Grease a muffin tin. In a large bowl, beat together the oil, brown sugar, vanilla, and rum. Combine the mashed bananas and eggs in a separate bowl and add to the sugar mixture. Beat until thoroughly combined. In a separate bowl, combine the flour, baking soda, baking powder, cinnamon and nutmeg. Stir it into the banana mixture. Chop up a cup of fresh pineapple and add to batter. Spoon the batter into the muffin cups. Bake the muffins for 20 minutes or until a toothpick inserted into the centre comes out clean. Remove from the oven, and let cool in the tins before removing to cool completely.

Guten Appetit!
Continue reading...